
Hi All!!
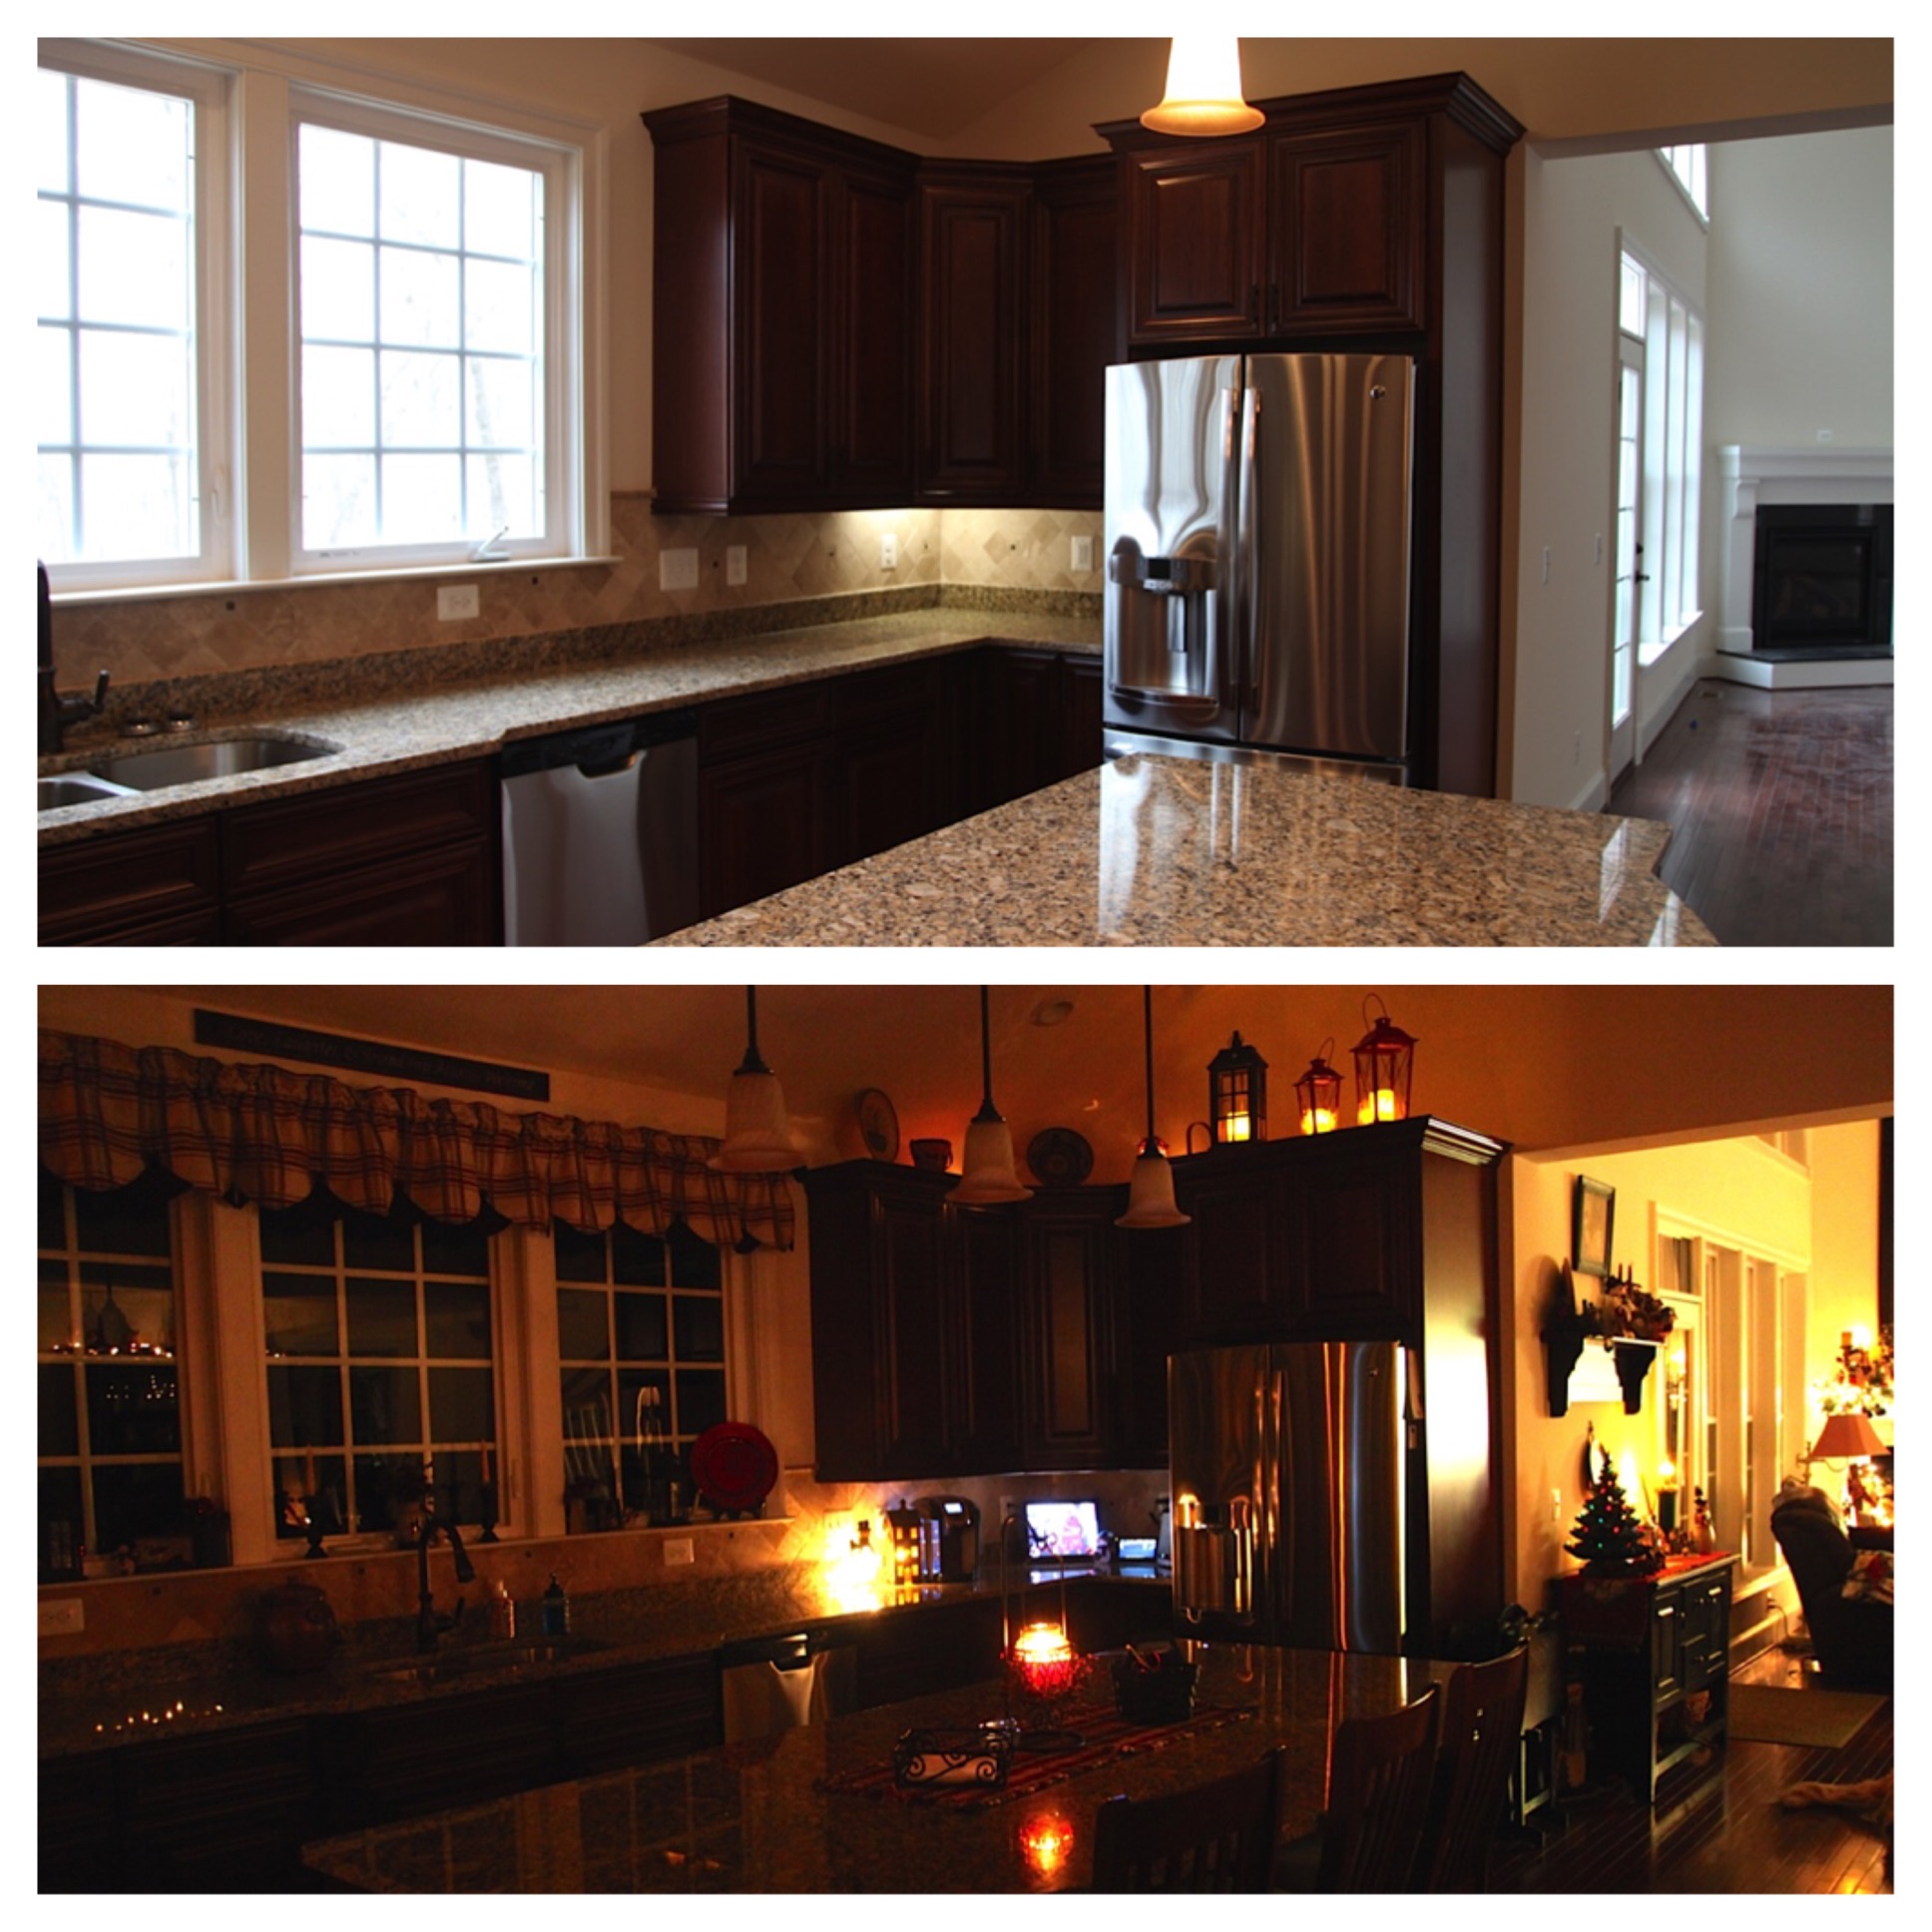
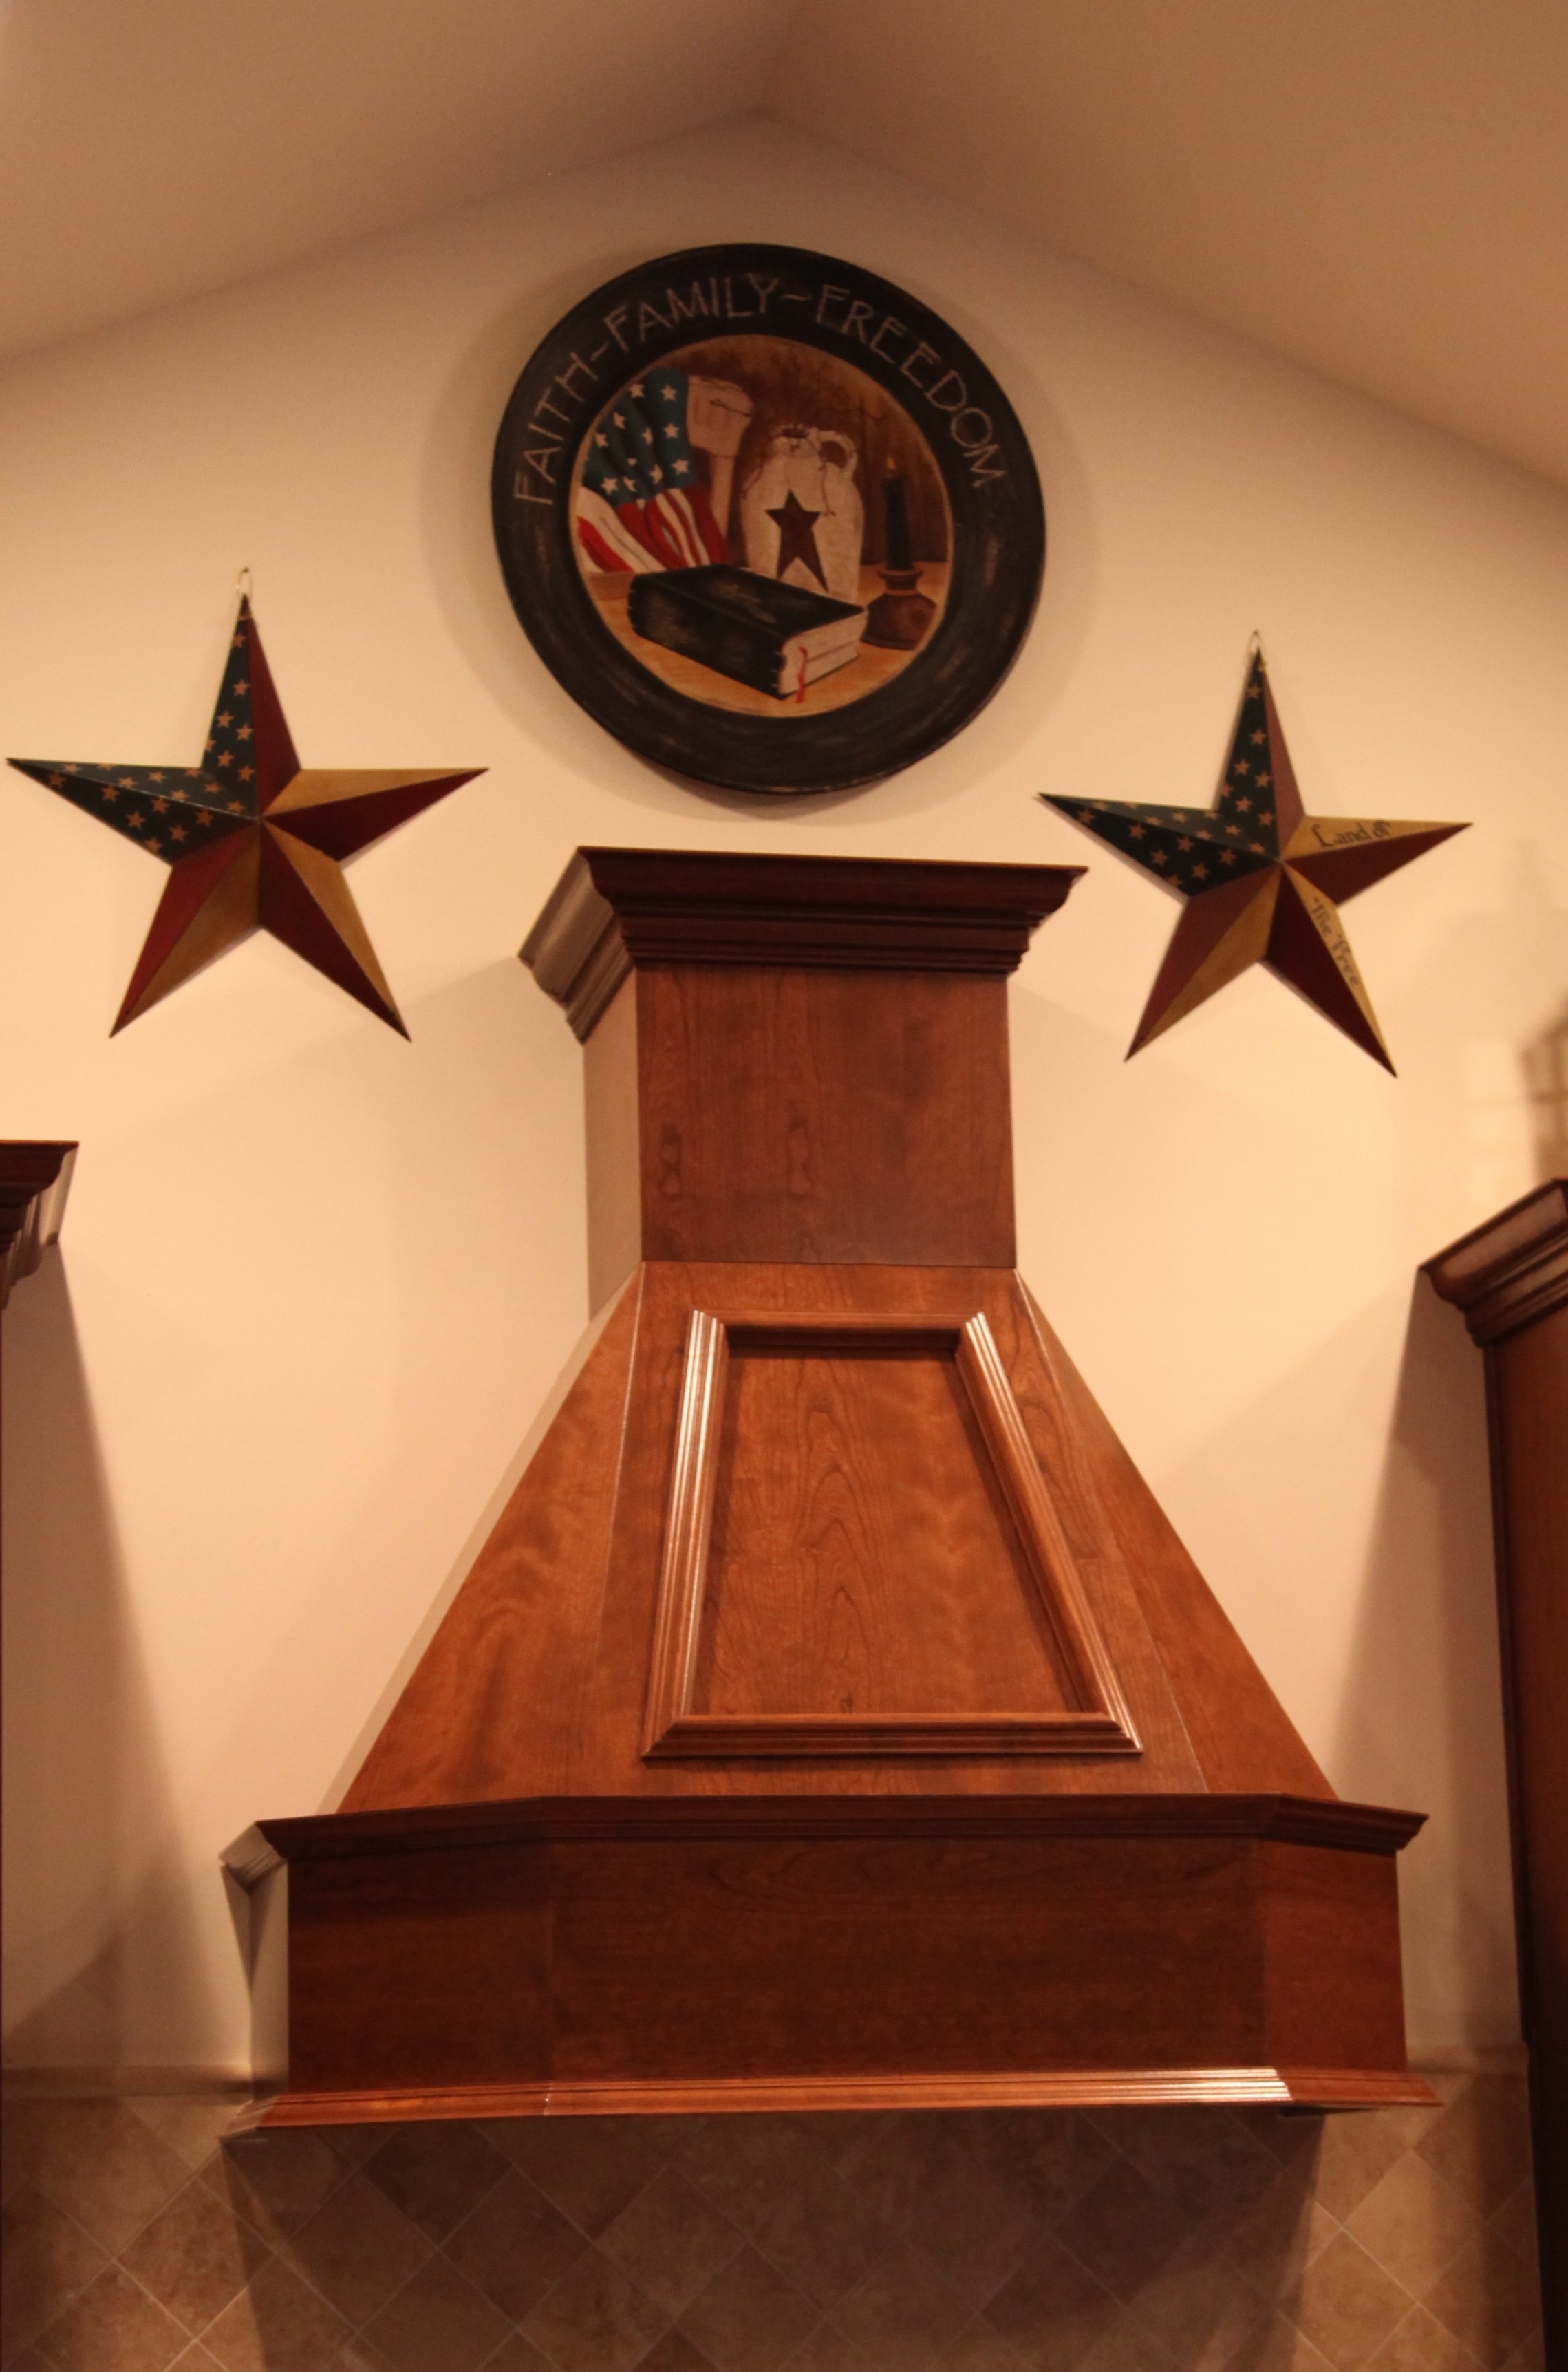
One of the main reasons that my hubby and I chose this model of home to build for our retirement home was because of this kitchen. It is definitely my dream kitchen and I feel humbled and blessed to be able to cook in it daily. While our house was being built, I was doing a bit of building of my own, I was building the decor that I would be arranging on top of the kitchen cabinets. First, I have been collecting Longaberger baskets for decades so I knew that some baskets would definitely be part of the design. I have also been collecting Dickens Houses for decades, and I’ve always added them into my decor no matter the time of year, so I knew a few of those would also be incorporated into the design. I love wooden plates and had collected quite a few of those too. To round out what I needed to complete my vision of the cabinet decor, I spent many a day collecting lanterns and battery operated candles to go in them as well as a *very* large plate and a couple of metal stars (for above and on either side of the hood).
The day finally came for me to arrange the cabinet decor. I truly had no idea where to start, so I gathered everything that I had earmarked for this project and laid it all out on the island.

My hubby went and retrieved a ladder; I sweetly (honest) directed and he placed things where I asked (bless his heart, he had to readjust a few items several times until I was satisfied with the placement). It didn’t take us long to get in a rhythm and we had everything placed in no time. 🙂
I am really happy with how it all turned out! To add, my hubby attached little chargers to the candles and plugged them in up there–during the building process we had arranged to have wall electrical sockets installed above the cabinets and they all run to a switch down on the wall. Because he did that, I never have to replace the batteries in the candles and they stay on all of the time. 🙂
As you will see in future blogs, I love soft lighting and what it adds to the overall feeling of a room. My goal is always for a room to feel warm, welcoming, and cozy, I feel as if I accomplished that goal with the overall decor selections and my hubby’s help with placement and the magic he performed with those battery operated candles. I love it when a plan that has been formulating in my brain comes to fruition! 🙂
**In crafting there are no mistakes just unique creations**


Arlynn, sweet lady.. Well done, and will keep reading if you keep writing..
LikeLike
Thank you so much Jenn!! I will definitely keep writing, I’ve found that I have a lot to say…haha (what’s new huh?) 😉
LikeLike
Pingback: The Kitchen | Country Craft Corner
Pingback: Pick A Theme & Carry It From Room To Room – Country Craft Corner
Hi Arlynn, I am so glad I found your site….you have given me so much inspiration. I also have a new home and was overwhelmed how to go about decorating it, your style is so much like mine. Absolutely love it. I was wondering, how did your husband go about attaching the chargers to the candles? I was wondering if this would work on the lighted mini lights you have on your staircase and mantle? I love those lights, except mine drained the batteries overnight. Was wondering if you could ask your husband how he did this and if you could send me the instructions. I would greatly appreciate it. Again, love your site!!!!
LikeLike
Hi Valerie—First, congratulations on your new home!! And trust me girl, I feel your pain regarding feeling overwhelmed when going to decorate a brand new space. I’d been working with the same spaces for over 25 years in our previous home, I had to recreate the wheel (so to speak…haha) in this house. Now, as far as the candles are concerned, if the candle uses 3-AA or 3-AAA batteries, then you can use a USB charger and cable to power the candles. You will have to expose the red and black wires on the cable and connect them to the positive and negative posts in the battery compartment of the candle. You can utilize the batteries to hold the wires against the posts…Note: Remove the center battery, it will not be required. 🙂 We typically have spare USB cable around because they are used to charge many electronic devices. 🙂
LikeLike